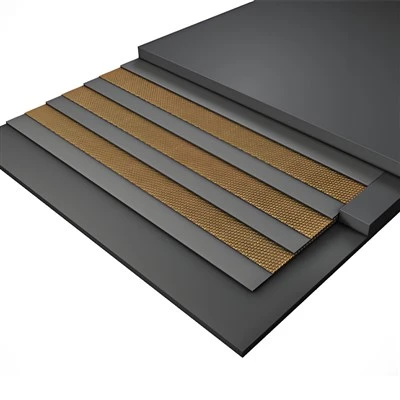
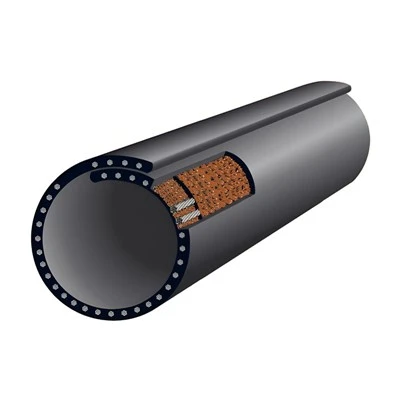
Solid woven conveyor belts are high-strength belts commonly used in industrial conveying systems. Their installation must follow standardized procedures to ensure safety and operational efficiency.
Preparation
- Safety First: Ensure the conveyor power is cut off and implement Lockout/Tagout (LOTO) procedures before starting any work.
- Structure Check: Confirm that the conveyor structure is intact, and components like drums, idlers, and tensioning devices are in normal condition.
- Specification Match: Verify that the conveyor belt specifications (width, thickness, splice type) match the equipment.
- Tool Preparation: Prepare installation tools, such as cutting tools, clamps, and bonding materials (for vulcanized or cold-bonded splices).
- Centerline Setup: Pull a precise centerline along the full length of the conveyor to serve as the for installation.
Unloading and Handling
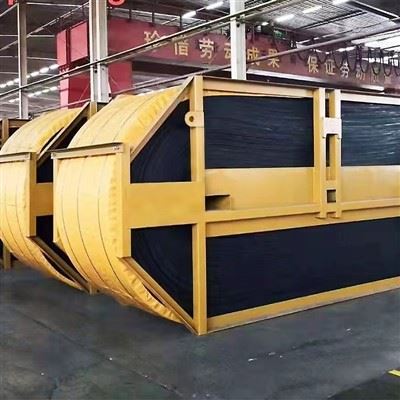
- Careful Unloading: Use forklifts or lifting gear with a dedicated shaft to carefully unload the belt roll. Avoid damaging the belt body.
- Horizontal Handling: Keep the belt roll horizontal during handling to prevent deformation.
Laying and Positioning
- Unfolding: Unfold the conveyor belt from the roll and lay it slowly along the conveyor centerline, avoiding twisting or skewing.
- Direction Check: Ensure the carrying side (top side) is facing up and the running direction is correct.
- Fit Check: Ensure the belt lies flat against the idler sets with no obvious suspension or wrinkles.
Splice Treatment (Critical Step)
- Cutting: Cut both ends of the conveyor belt according to the designed length, ensuring the cuts are perfectly straight and square.
- Buffing and Cleaning: Buff and clean the splice areas to remove surface impurities and increase adhesion.
Bonding
- For Vulcanized Splices, use a vulcanizing press according to process parameters (temperature, pressure, time). Ensure the working area is dry and protected from rain or dust.
- For Cold-Bonded Splices, apply special adhesive and pressurize for curing.
- Curing: Allow the splice to stand and cure until the required strength is reached.
Tensioning and Commissioning
- Tension Adjustment: Adjust the belt tension through the tensioning device. Ensure the tensioning drum is moved to the limit position before splicing to allow for future elongation.
- No-load Test Run: Observe if the belt is centered. Adjust idlers or drums if tracking issues occur (follow the rule: move the idler set forward on the side where the belt runs off). Listen for abnormal vibrations or noises.
Load Test Run
- Gradual Loading: Gradually increase the load to the rated capacity and continuously observe operational stability.
- Sag and Splice Check: Check if the belt sag between idlers exceeds 2.5% of the idler spacing. Inspect the splice for any cracking or delamination.
- Re-tensioning: Perform a secondary inspection and tightening of the tensioning device after the belt has run under load for a shift.